How to Create and Use Server Whitelisting
Step-by-step guide
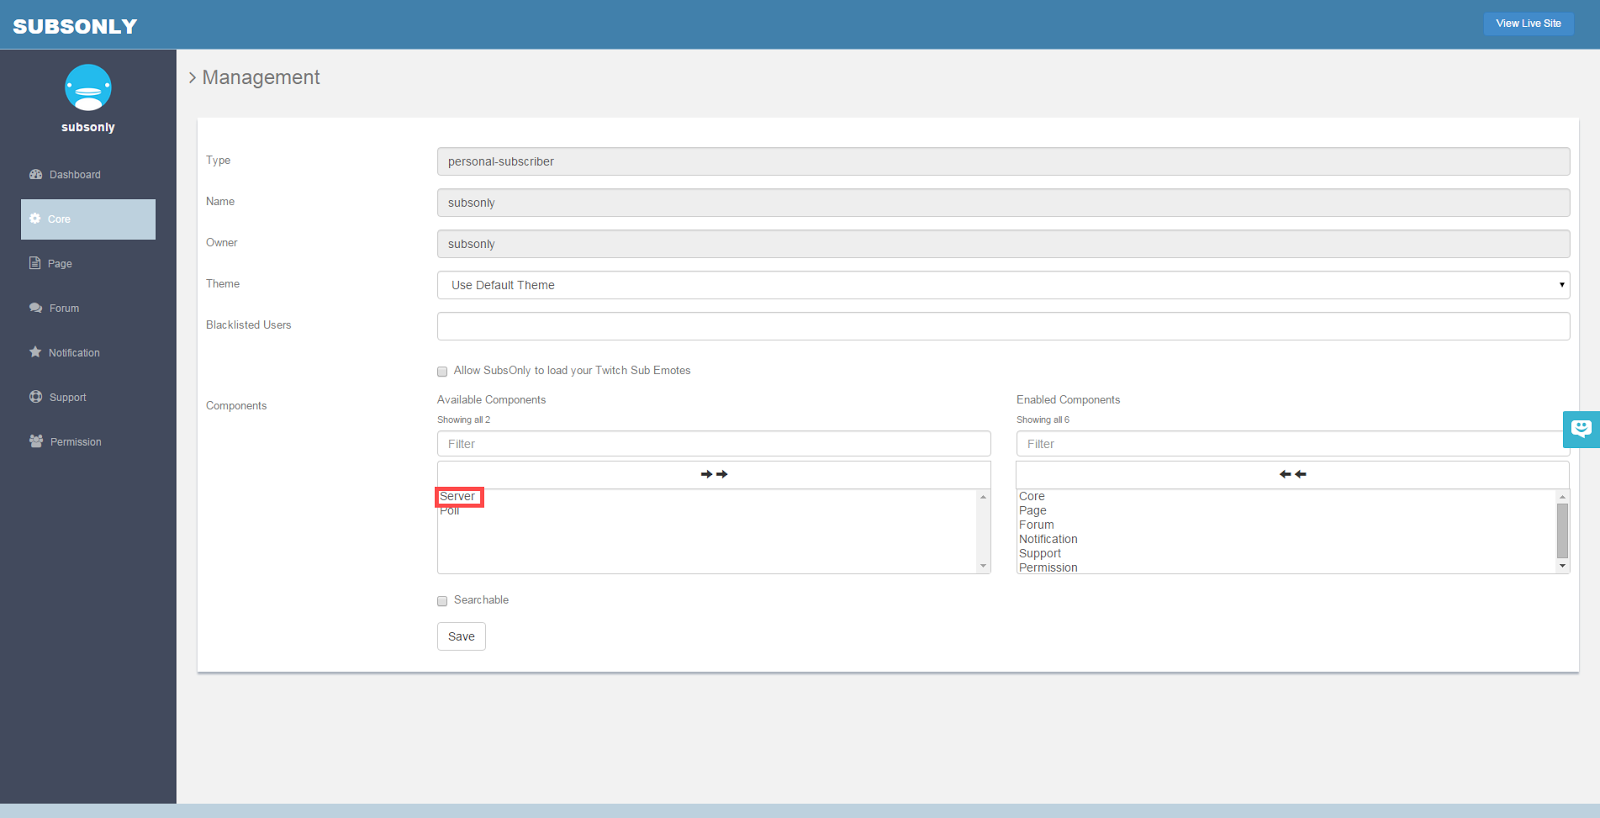
To add the Server Whitelisting feature, go to the Core area of your dashboard. Under components, there is a box on the left with what features you can add to your site. If you click on Server, it will move to the right box and become part of your site.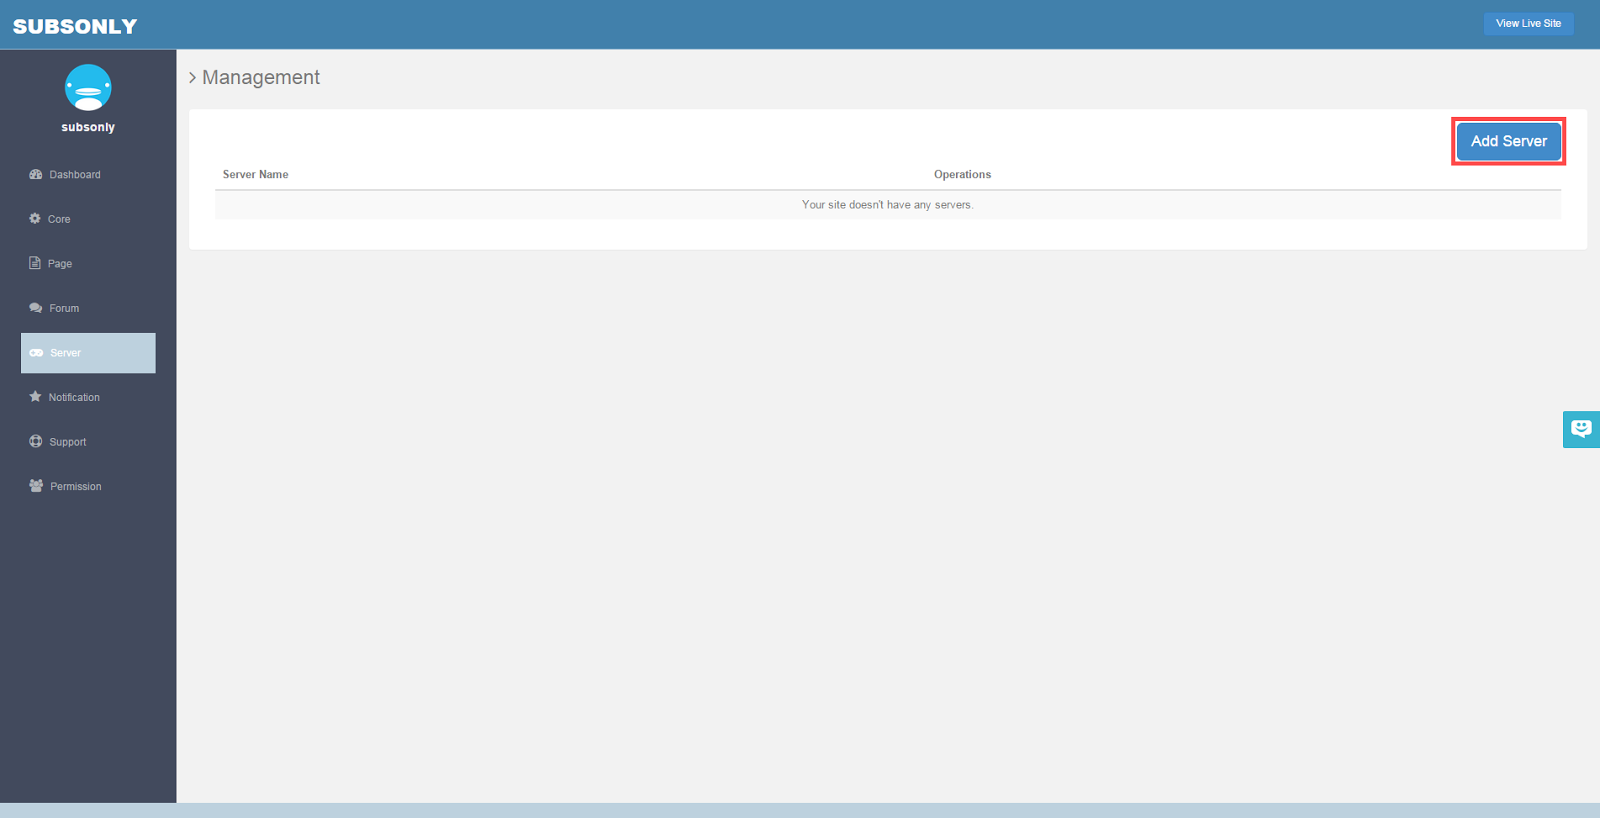
When you add the feature, it will appear as an option on your side bar. When you click the server button, you will have a list of any servers you have already set up. To add a server whitelisting form, click the Add Server button on the top right.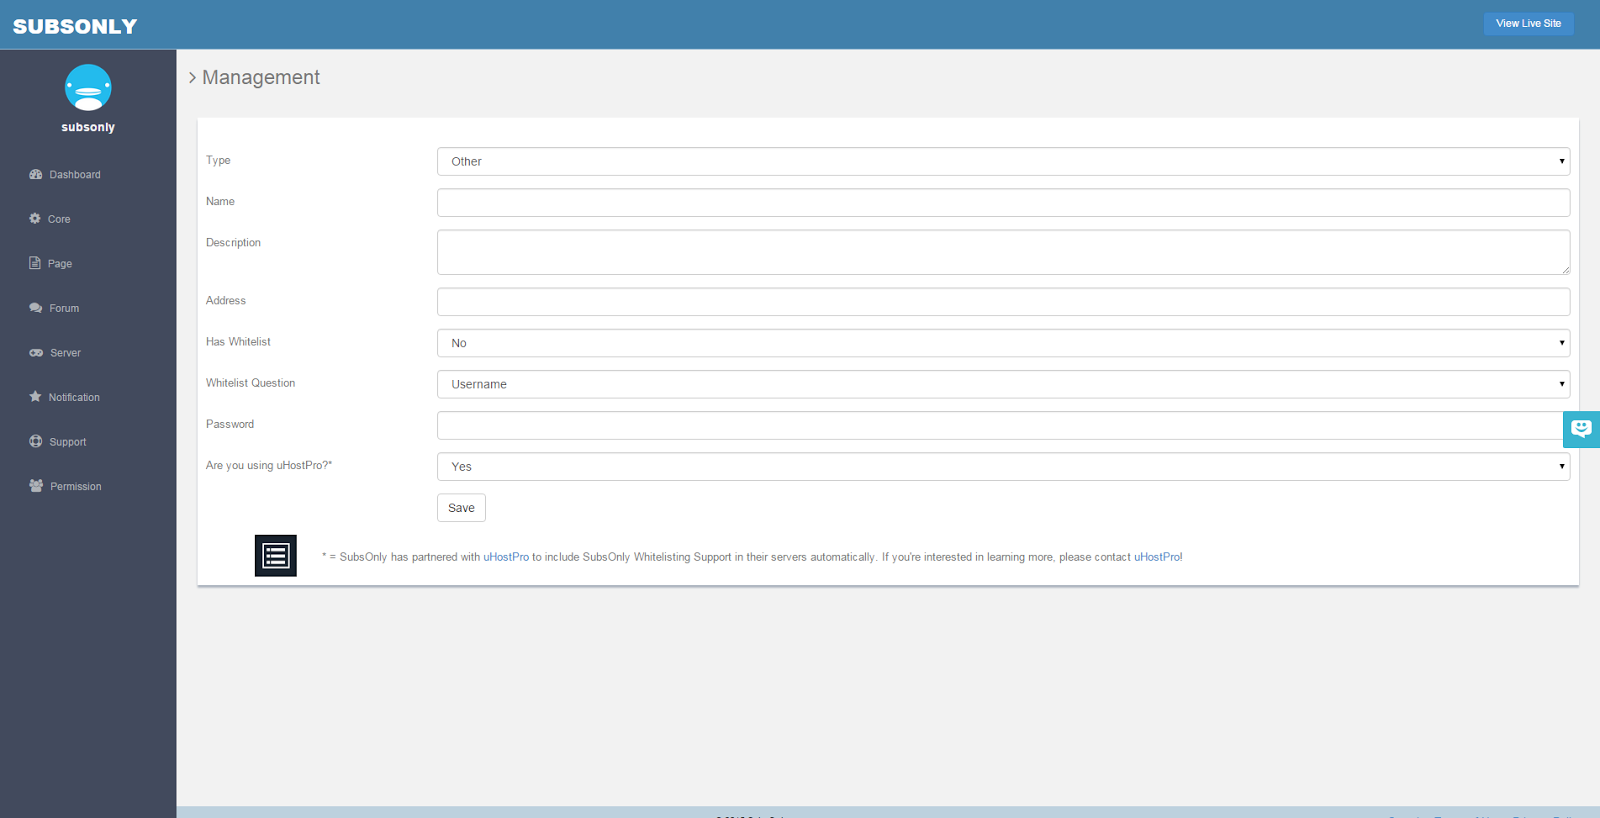
When you click the Add Server button, you will be brought to the setup page.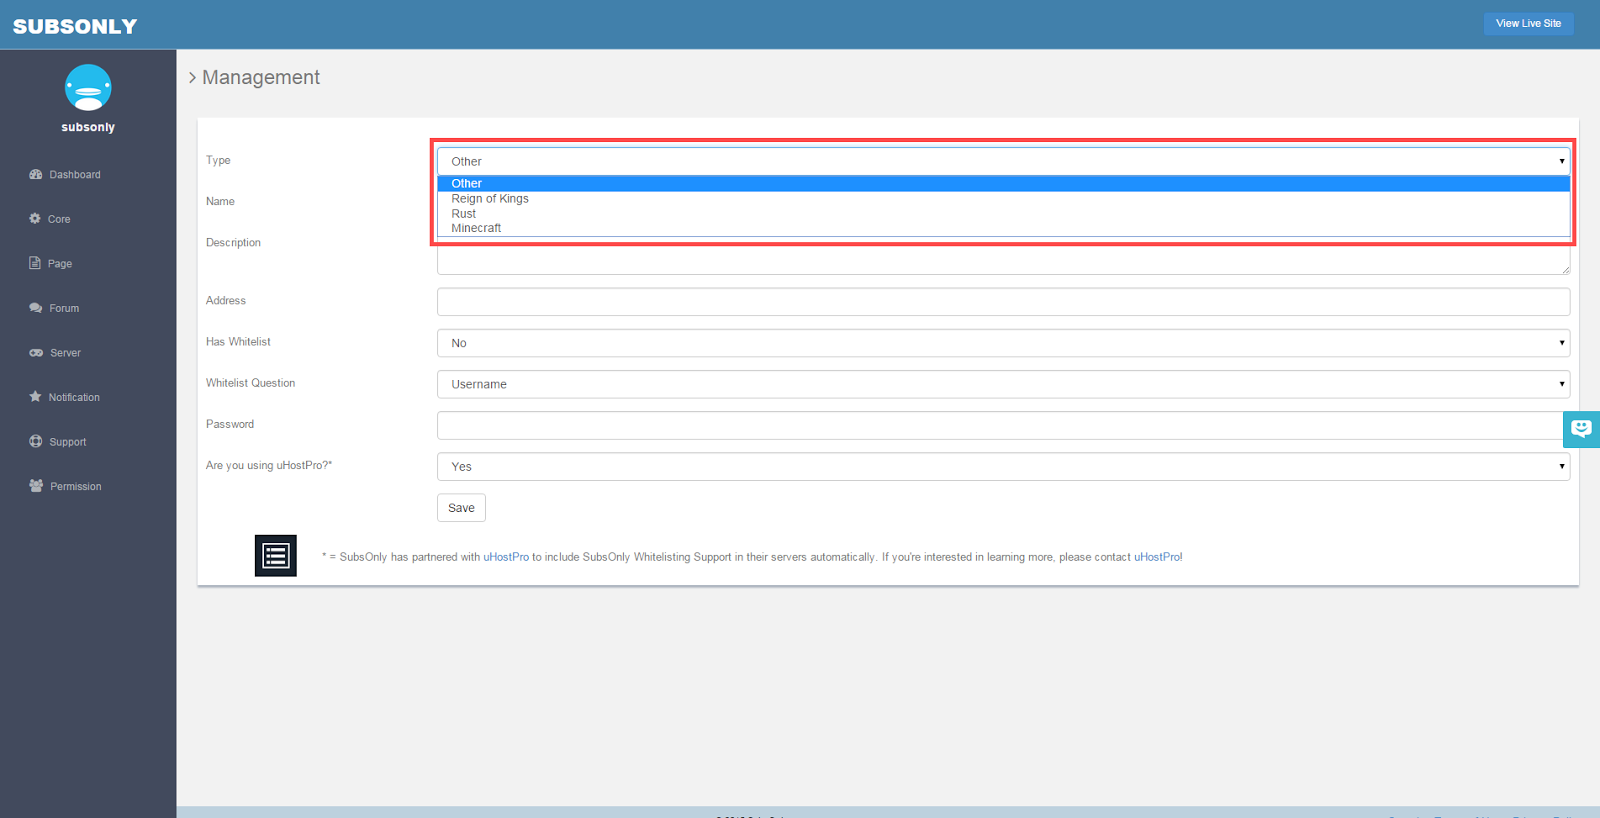
The first option is to select what type of game. Currently we have integrations with Reign of Kings, Rust, and Minecraft servers.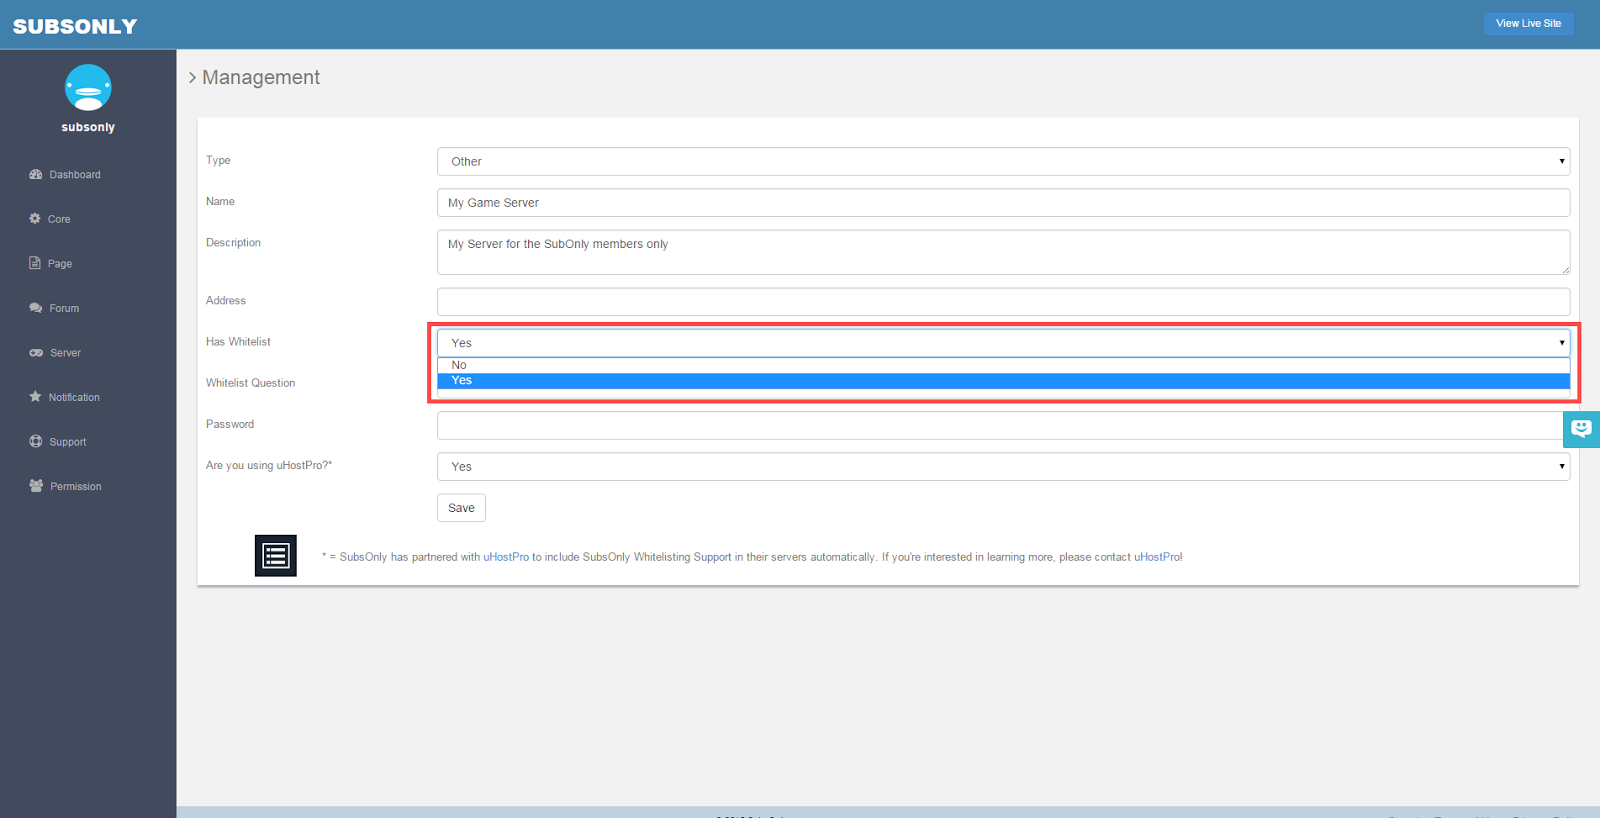
You can also post whether or not the server is a whitelisted server.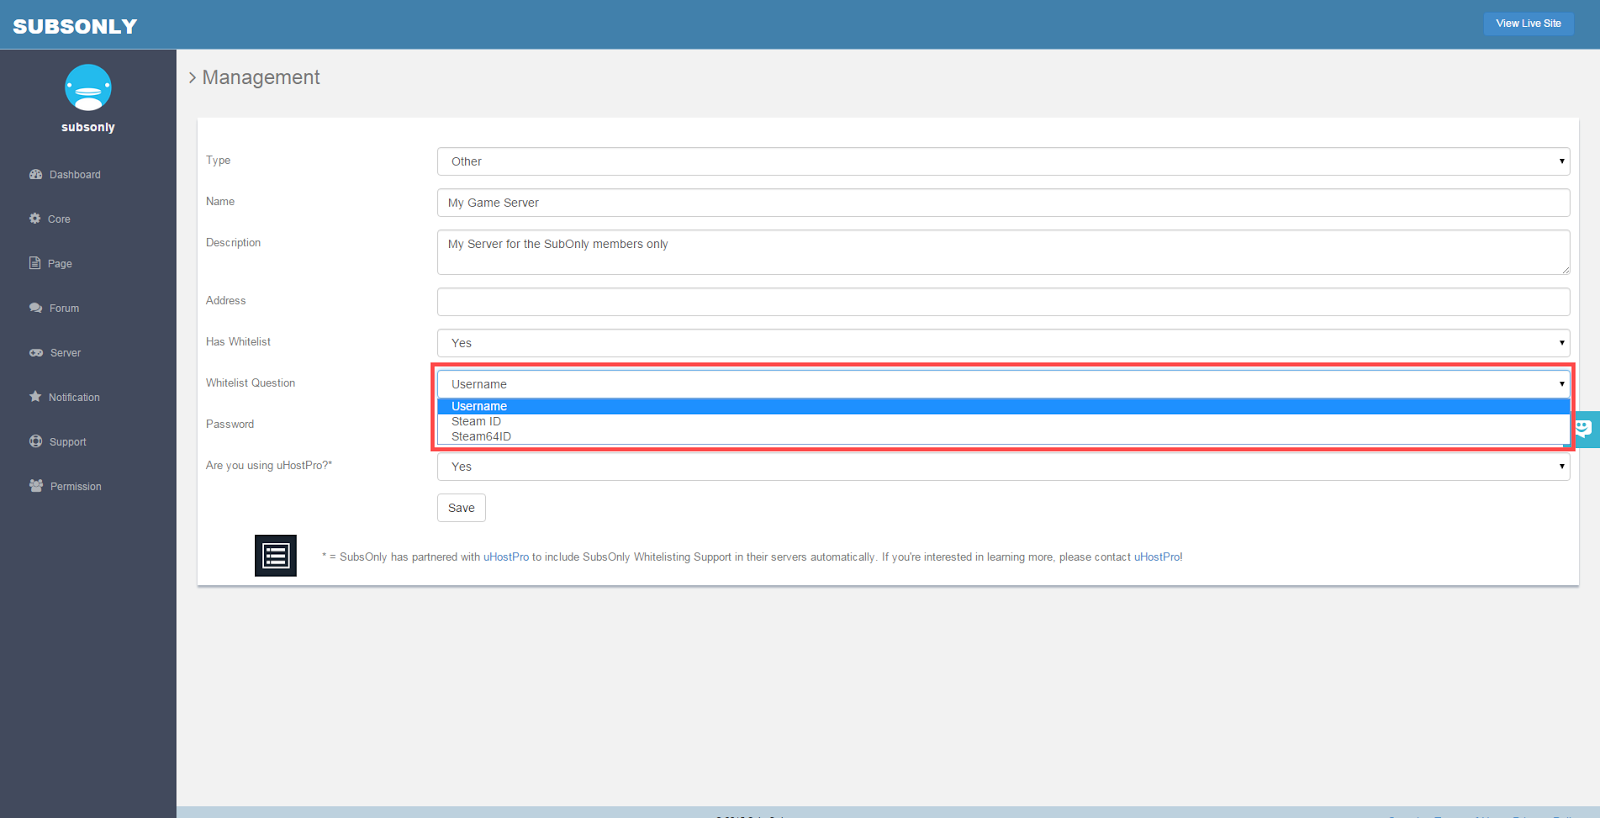
Because different servers require different information for whitelisting, you can select which information you need from your subscribers such as a Username, Steam ID, and Steam64ID.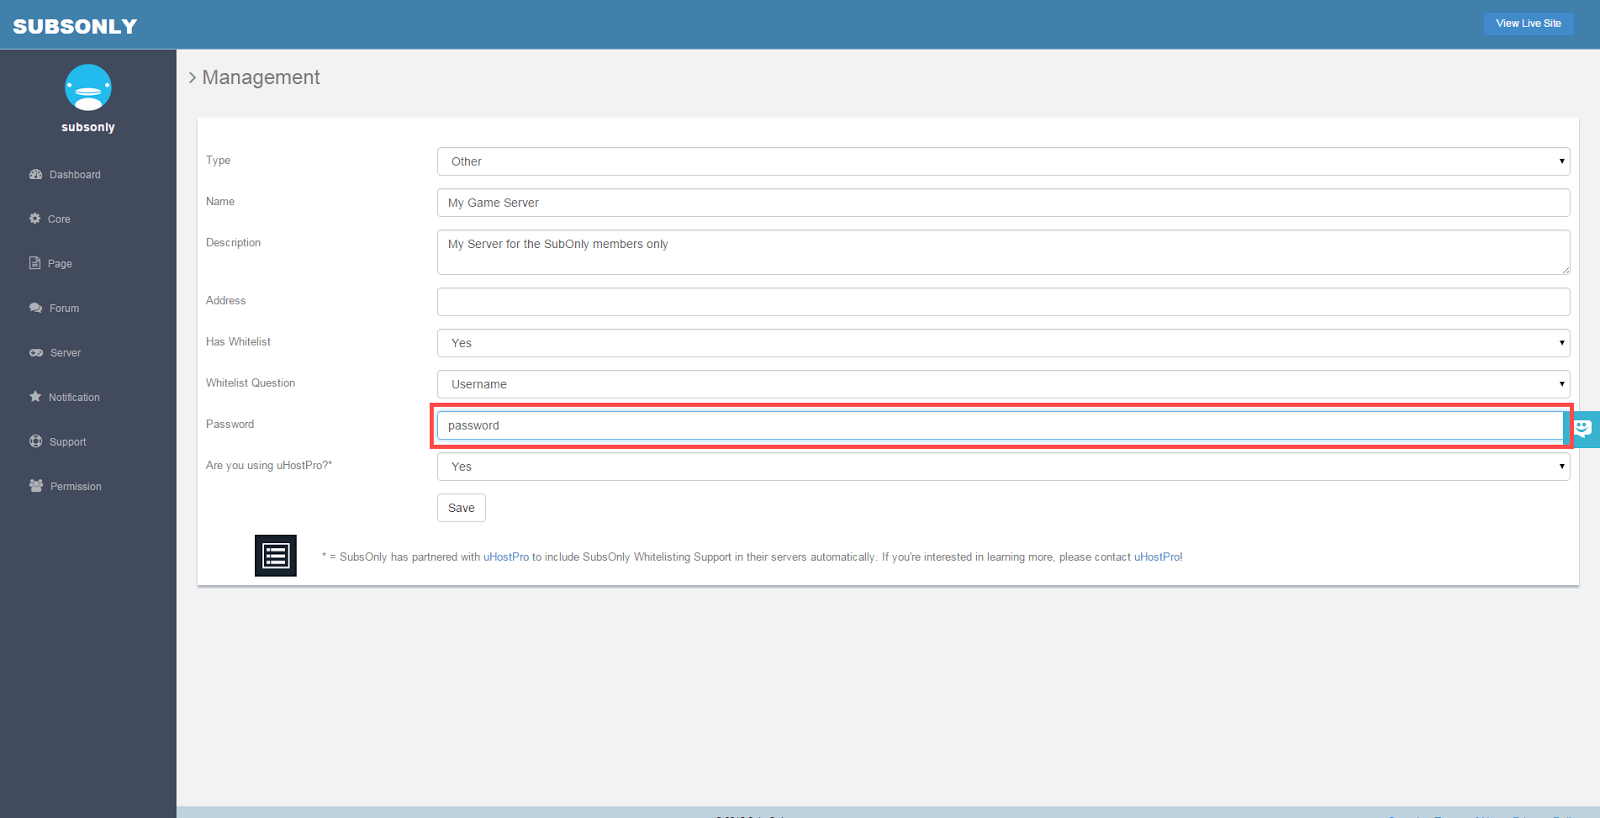
There is a password section in case you need to give out the server password to your subscribers as well.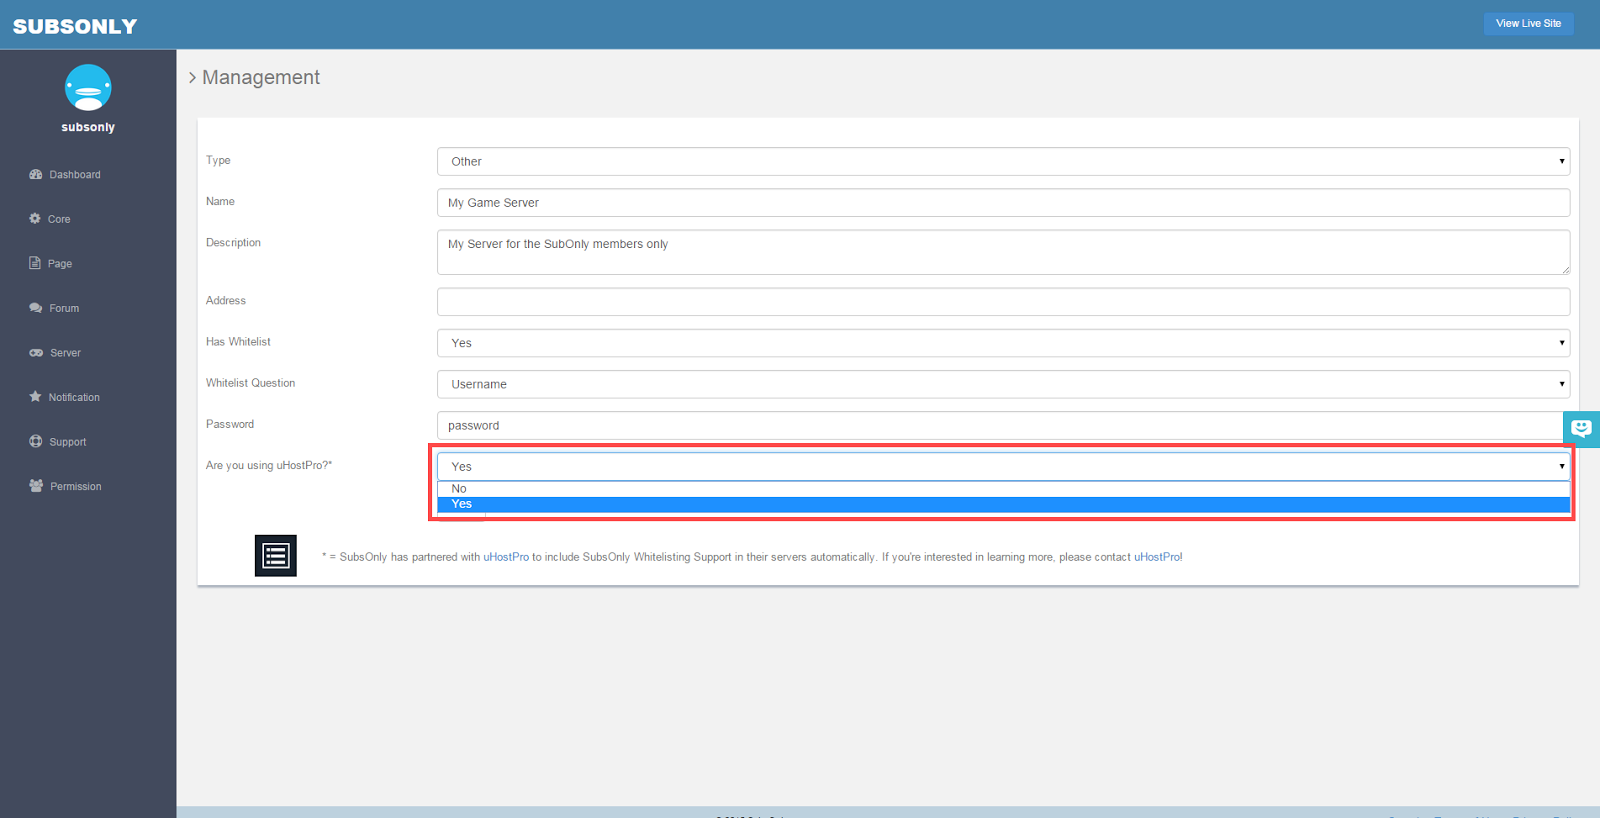
SubsOnly is partnered with uHostPro and has direct whitelist integration with uHostPro servers. If you have a uHostPro server, you can select the option for it to use this integration.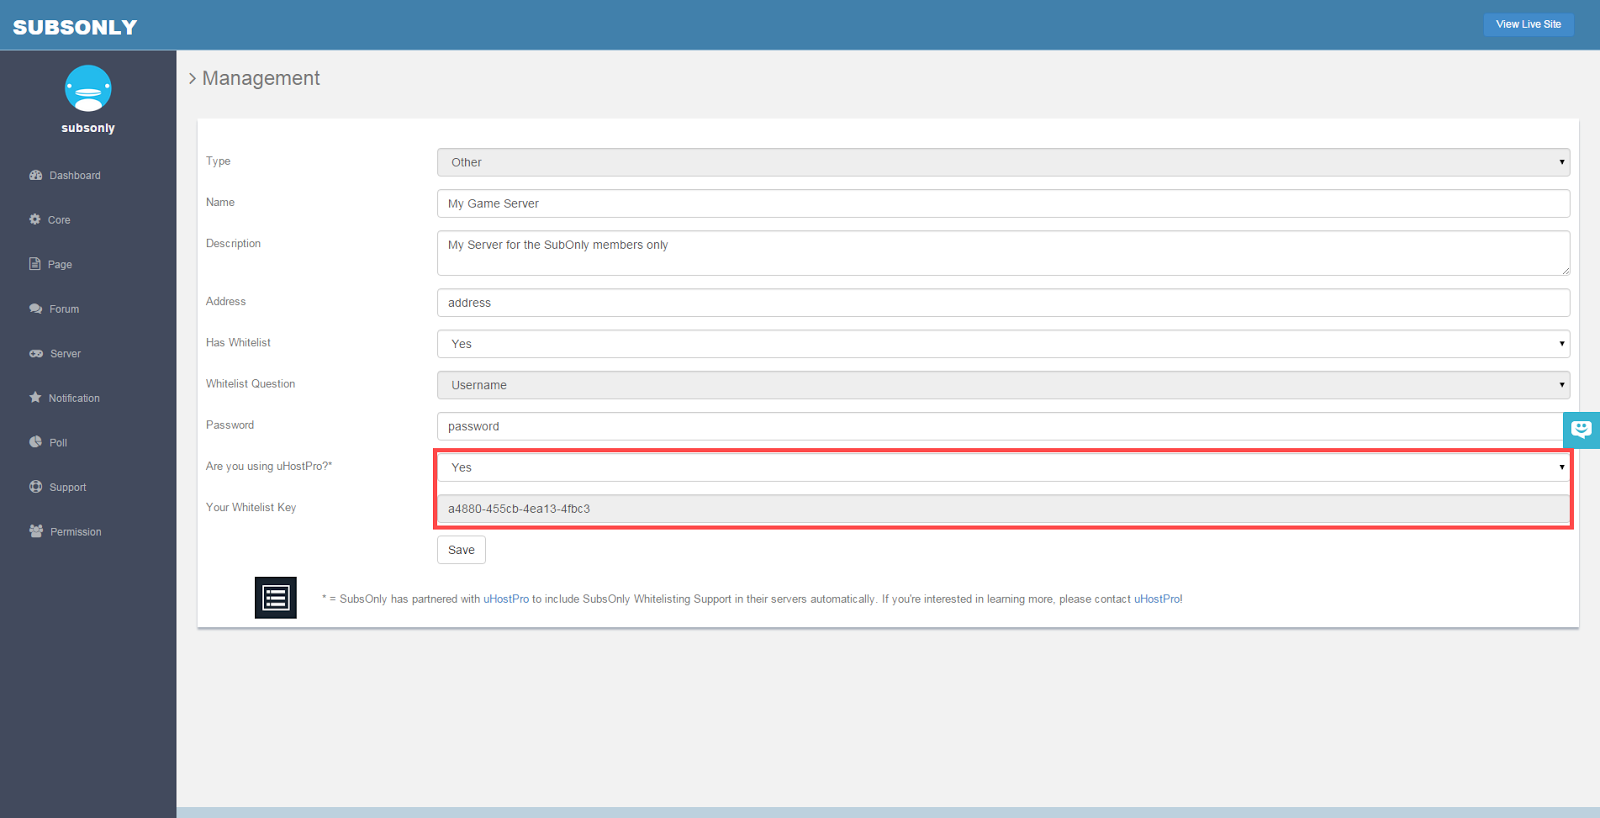
If you do use uHostPro, we provide you with an access token that you can enter into the uHostPro Panel to automatically sync your whitelist with your SubsOnly site.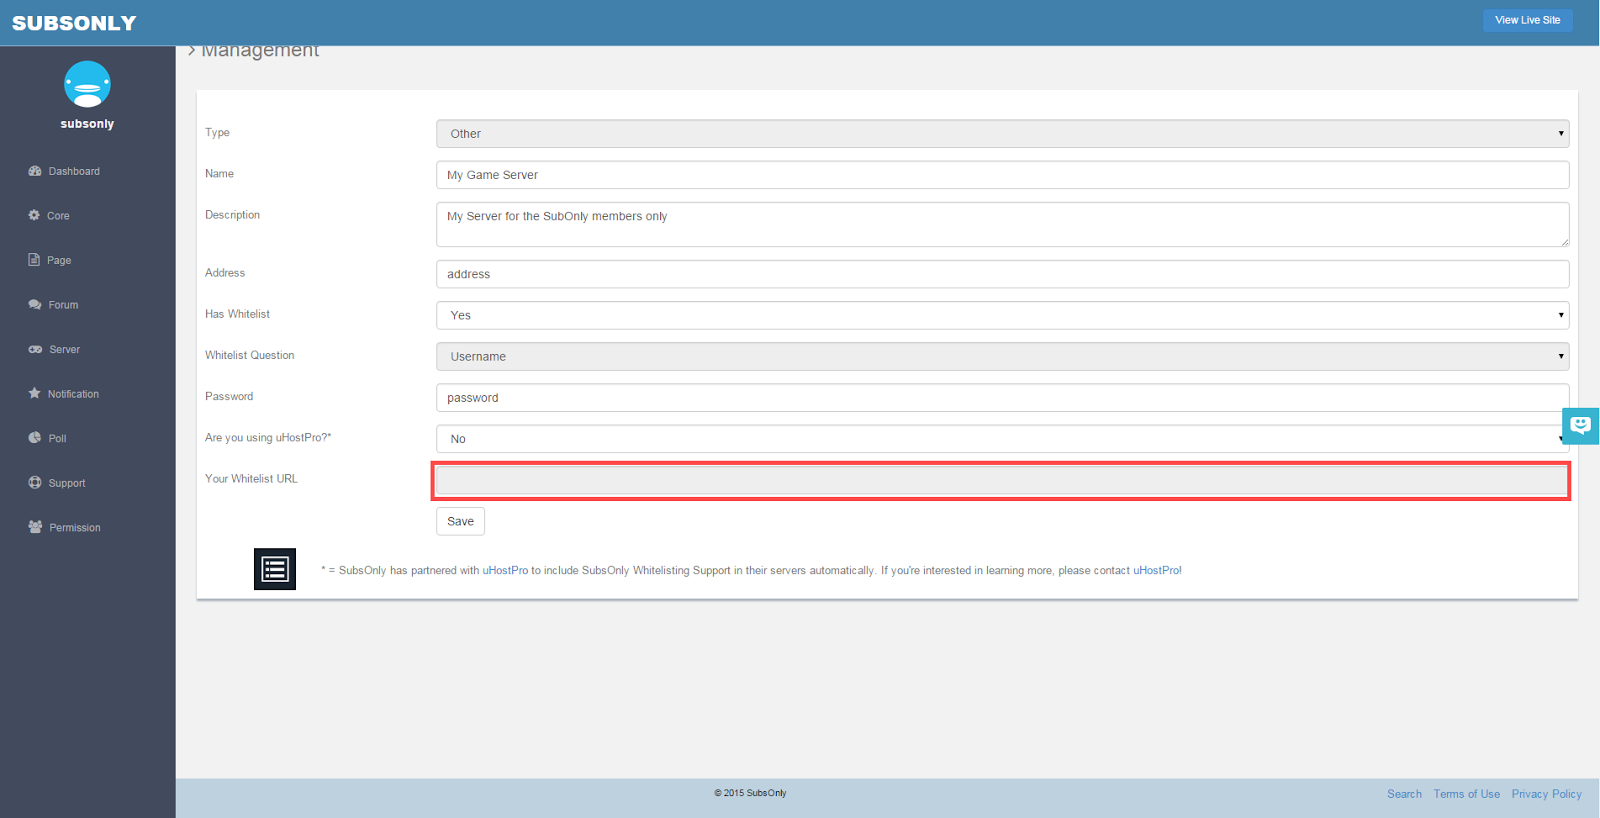
If you don't use uHostPro, we provide you with a page that you can access which includes your whitelist information in the required format for your game type.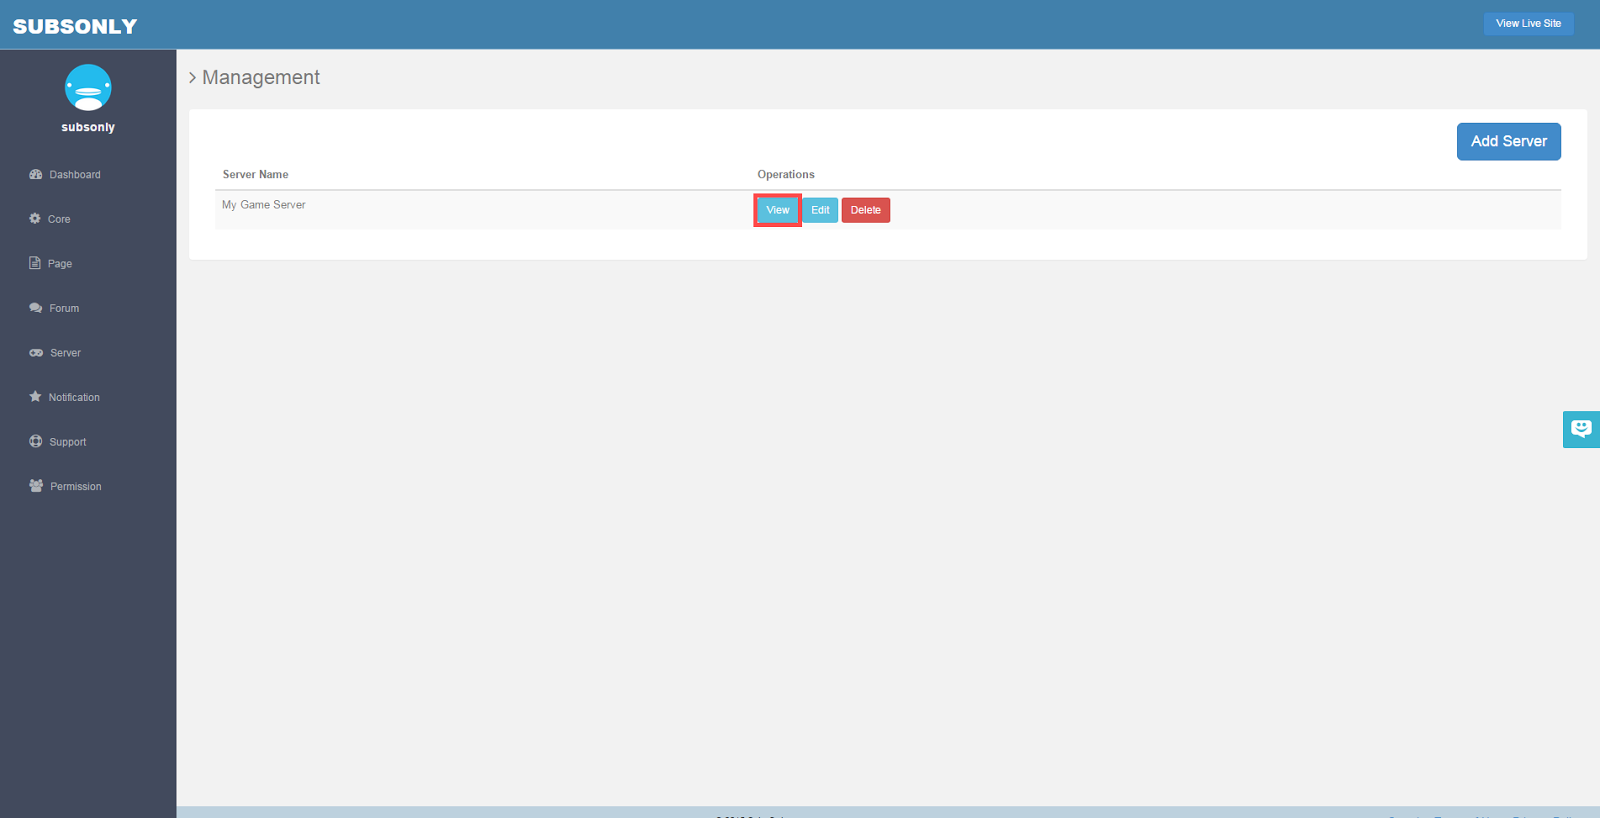
After creating the server, it will appear under your server list. You can edit, delete, or view information about the server.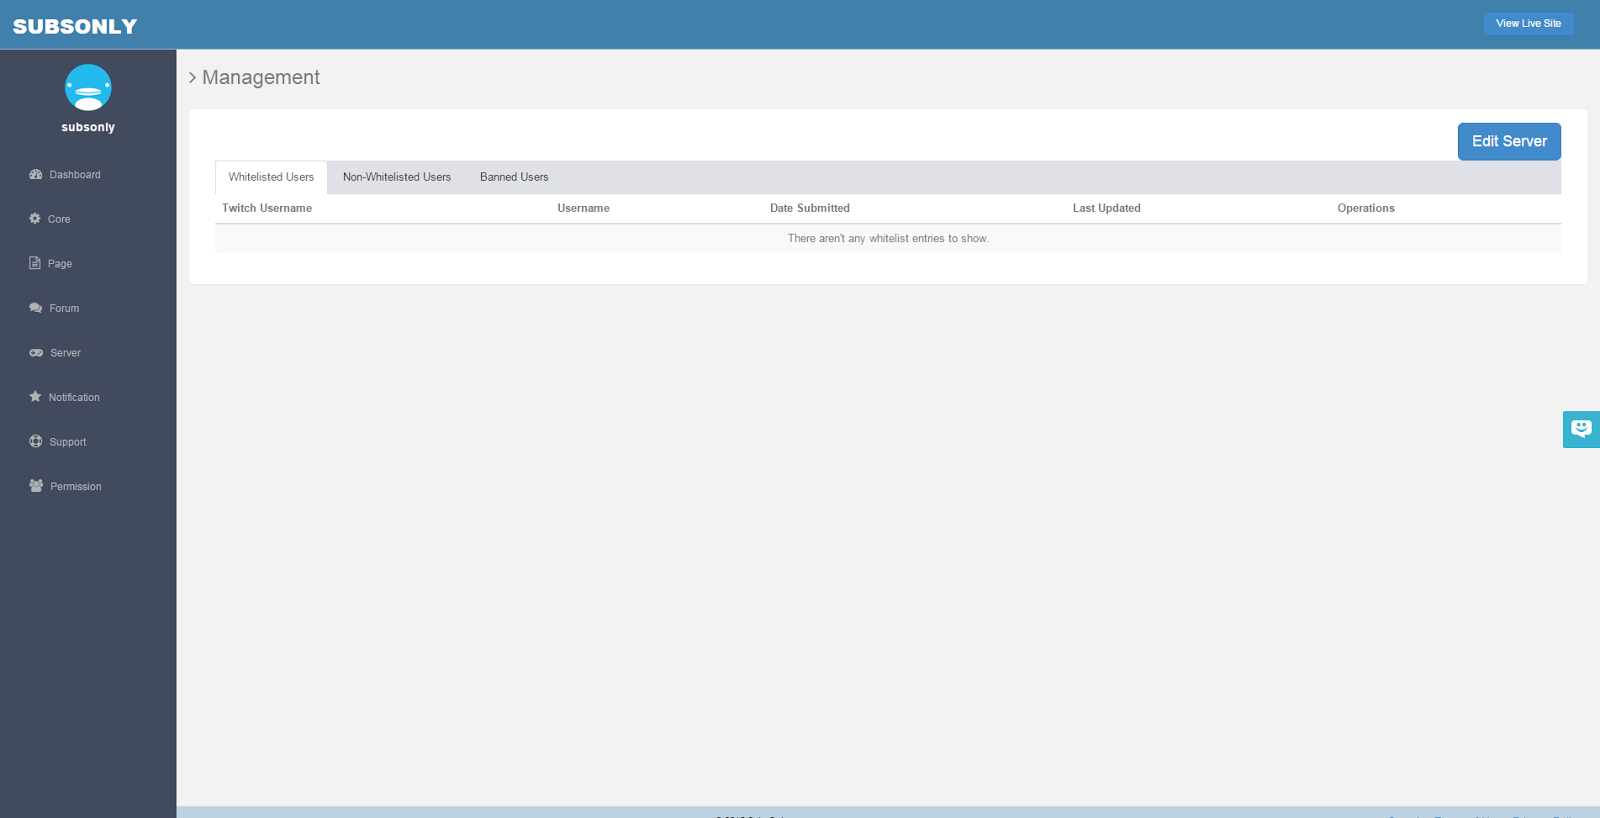
When you click to view the server information, you can see who has whitelisted themselves, what users are banned, and any non subs you have whitelisted as well.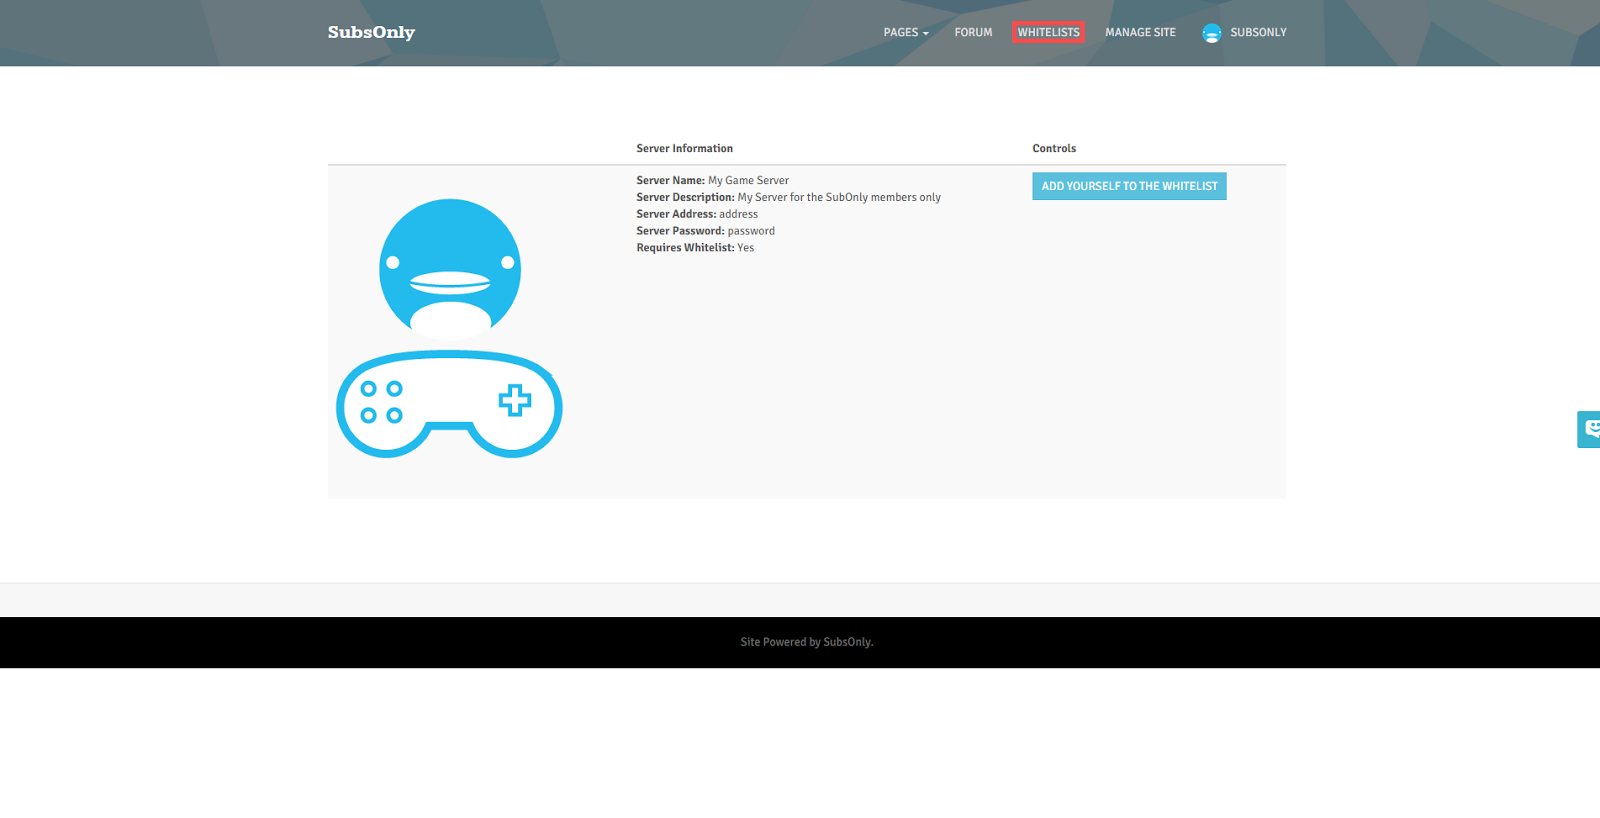
On your site, your subscribers will be able to find the Whitelisting page by clicking Whitelists at the top of the page.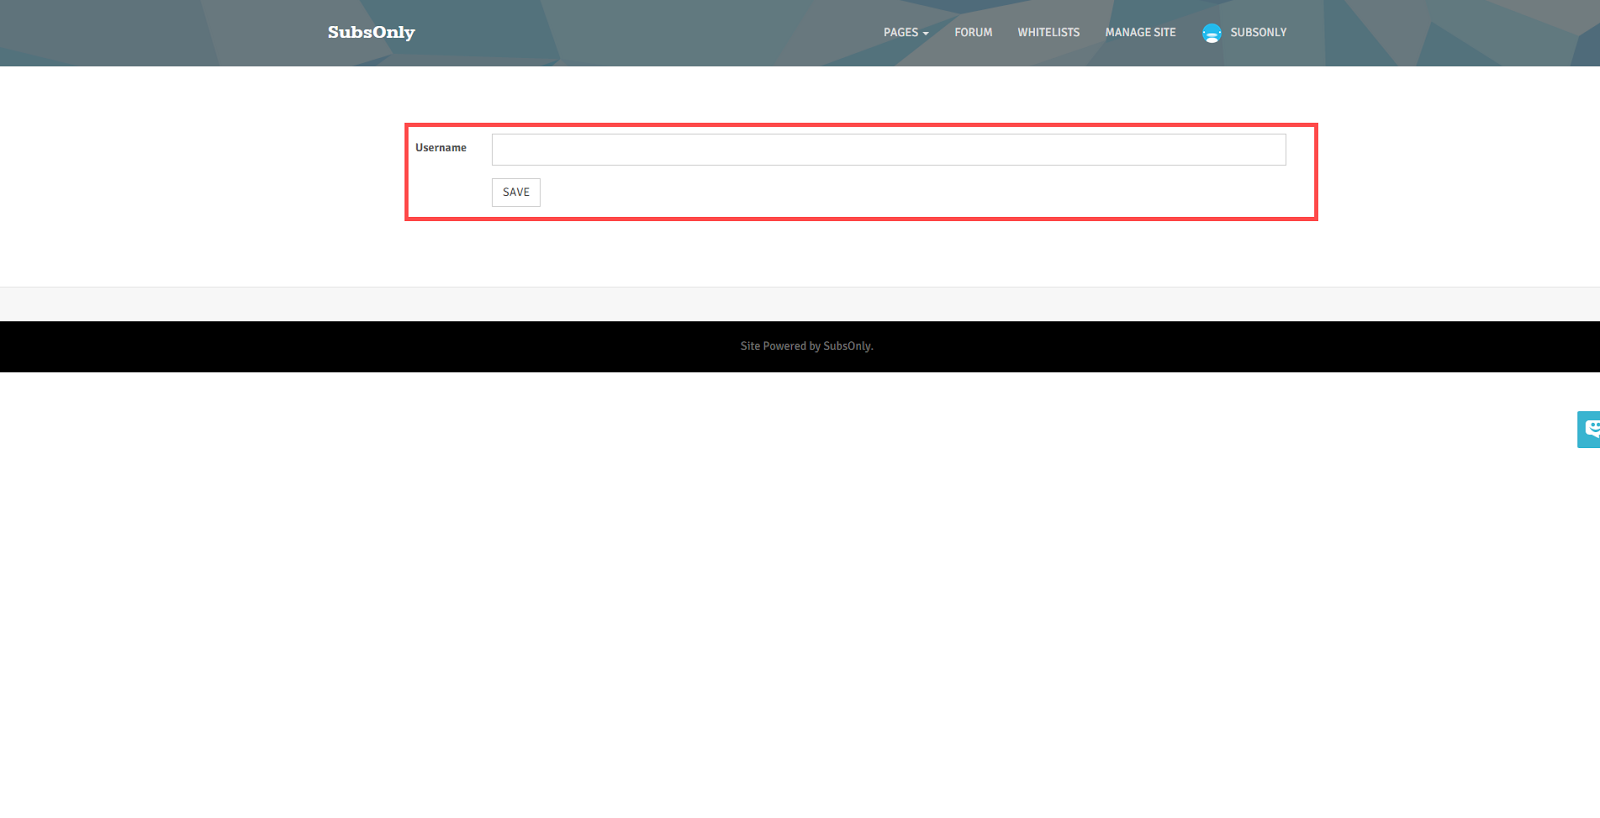
They will then be taken to a page where whatever information you have requested from them will be available for them to fill out.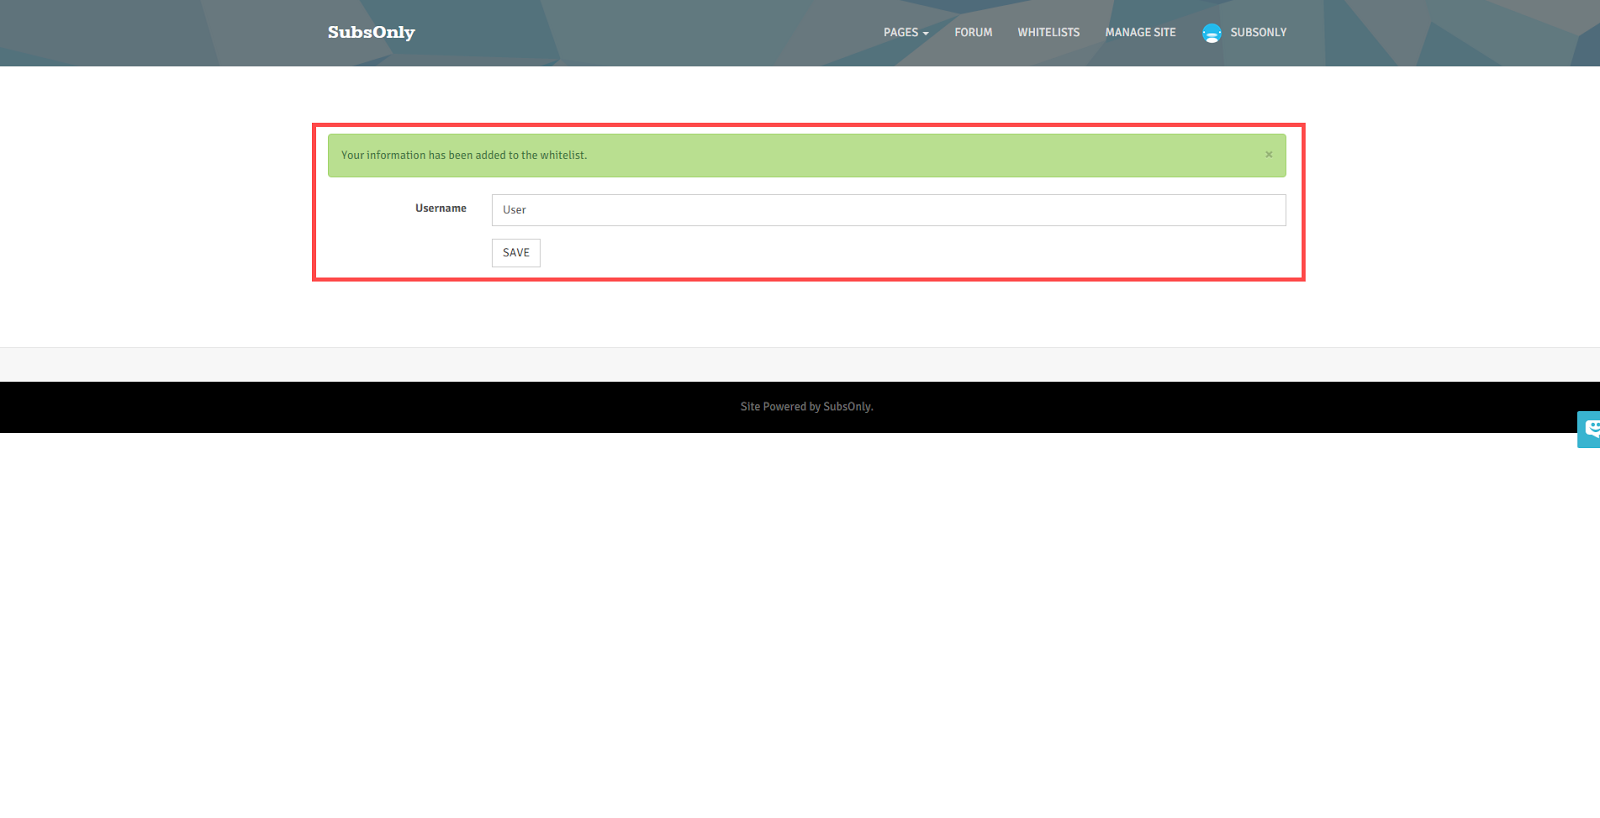
Once the user has been whitelisted, they will get a message confirming they have given you the correct information.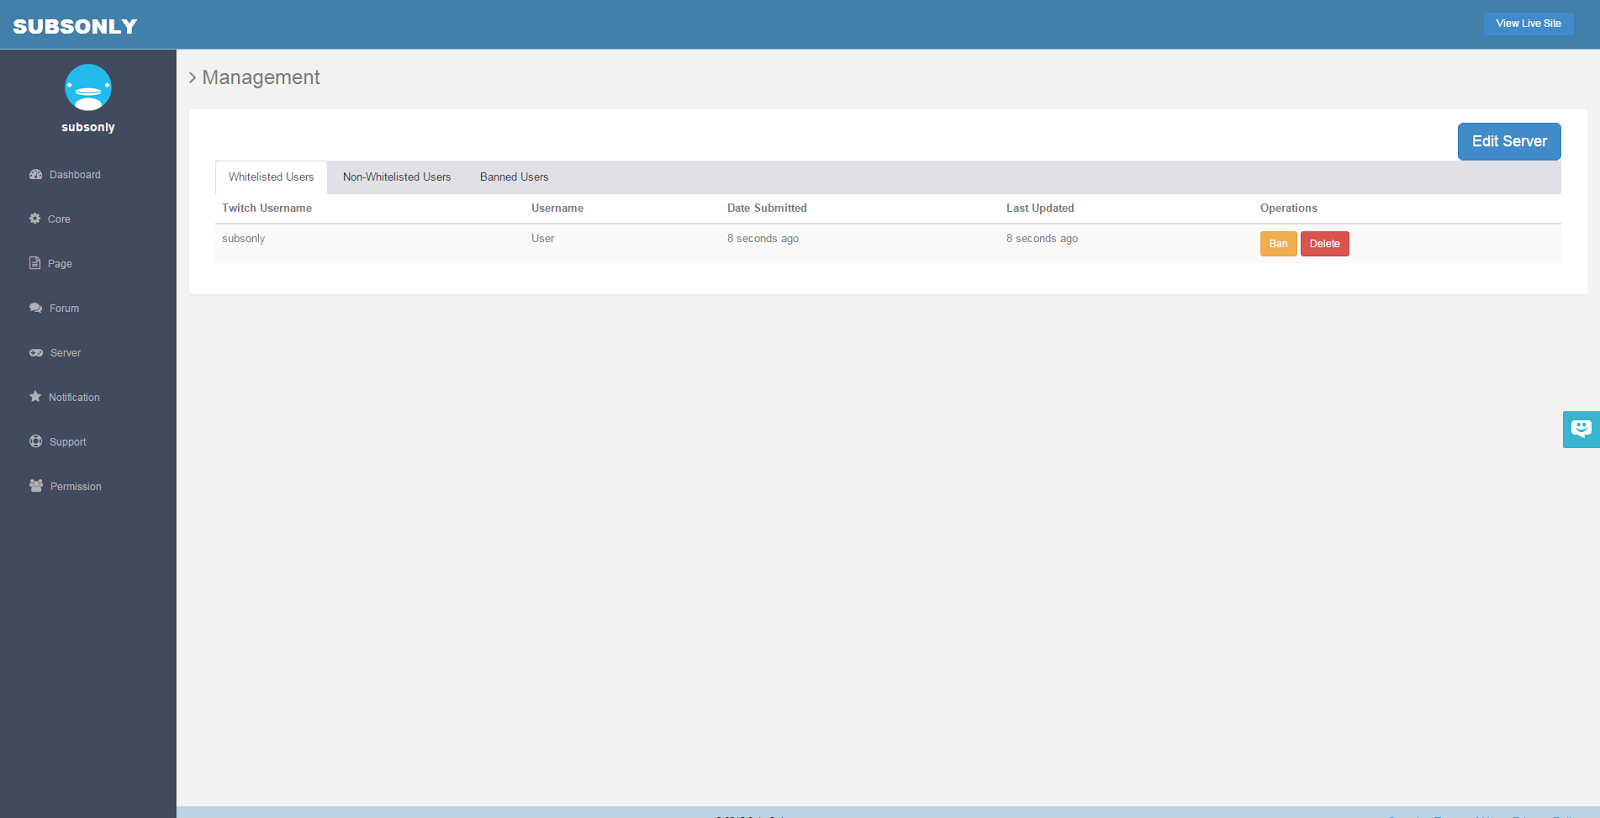
Once they whitelist themselves, you will be able to see their Twitch Username, the information they provided, and when they submitted their whitelist. There is also options to ban and delete a user from a whitelist.
Customer support service by UserEcho
